The Quest for Perfection: Why Baked French Fries Reign Supreme
Few culinary delights can rival the simple satisfaction of perfectly crispy French fries. That golden-brown exterior giving way to a fluffy, tender interior is a texture sensation universally adored. For too long, achieving this at home meant deep-frying, a process often messy, unhealthy, and intimidating. But what if we told you that the secret to truly outstanding, incredibly crispy baked French fries lies not in vats of hot oil, but in your very own oven?
Baking your French fries offers a multitude of advantages. Beyond the obvious health benefits of significantly less oil, it’s a remarkably cost-effective approach. You save money on cooking oil, and using fresh potatoes is almost always cheaper than pre-made frozen options. Furthermore, the cleanup is dramatically simpler, and you avoid the lingering smell of a fryer. With the right techniques – harnessing high heat and clever prep secrets – your homemade baked French fries won't just be "good for baked"; they'll be genuinely, irresistibly delicious, rivalling their deep-fried counterparts in crunch and flavor. This guide will unlock those secrets, transforming your approach to home-cooked fries.
Unlocking Potential: The Secrets of Soaking, Cutting, and Potato Choice
The journey to the ultimate crispy baked French fry begins long before the oven even preheats. It starts with careful potato selection and meticulous preparation. Understanding these foundational steps is crucial for success.
Choosing Your Spud: Russets vs. Alternatives
- Russet Potatoes: These are the classic choice for a reason. Their high starch content and fluffy texture when cooked make them ideal for fries that crisp beautifully on the outside while remaining tender within. For the best results with Russets, peeling is recommended to achieve that uniform golden finish.
- Yukon Golds: A fantastic alternative, Yukon Golds offer a slightly creamier texture. They possess a thinner skin, meaning you often don't need to peel them, saving you a step. While their starch content is slightly lower, they still yield delicious, crisp fries.
The Art of the Cut: Consistency is Key
Whether you're aiming for a classic shoestring or a heartier steak fry, consistency in cutting is paramount. Fries of uneven thickness will cook at different rates, leading to some being burnt while others are still undercooked and limp. Aim for a thickness of approximately ¼ to ⅜ inch.
- Knife Skills: For those comfortable with a chef's knife, precise cuts are achievable. A helpful technique involves first slicing the potato lengthwise into flat ovals (e.g., three cuts lengthwise yielding four ovals), then slicing each oval into uniform strips.
- Mandoline Magic: For ultimate consistency and speed, a mandoline slicer is an invaluable tool. However, always exercise extreme caution and use a hand guard to prevent injury.
The Soaking Secret: Starch Removal for Maximum Crispness
This step, often overlooked, is a game-changer for fresh-cut crispy baked French fries. Soaking your freshly cut potatoes in cold water for 20-30 minutes serves a vital purpose: it draws out excess surface starch. Starch is what can make fries stick together and contributes to a gummy, less crispy texture. Once soaked, rinse the fries thoroughly.
The Absolute Essential: Drying, Drying, Drying!
After soaking and rinsing, your fries must be bone-dry. This cannot be stressed enough. Any residual moisture will turn into steam in the hot oven, steaming your fries instead of baking them to a crisp. Spread them out on clean paper towels or a kitchen towel and pat them thoroughly until every surface is dry. You can even let them air-dry for an additional 10-15 minutes if time allows.
The Oven's Crucible: High Heat, Airflow, and the Crisping Process
Once your potatoes are prepped, the oven takes center stage. Understanding how to harness its power is critical for achieving that coveted crunch.
Temperature Matters: The Power of 425°F
The magic temperature for crispy baked French fries is typically 425°F (220°C). This high heat is essential for two reasons:
- Rapid Moisture Evaporation: The intense heat quickly cooks out the internal moisture from the potato, creating a dry environment conducive to crisping.
- The Maillard Reaction: This high temperature promotes the Maillard reaction – the chemical process responsible for browning and the development of complex, savory flavors in many cooked foods. It's what gives your fries their delicious golden color and rich taste.
Always fully preheat your oven. Placing fries into a cold or partially preheated oven will cause them to steam initially, making them limp rather than crispy. Allow your oven to come to temperature and stabilize for at least 15-20 minutes before loading your fries.
Convection vs. Conventional: Maximizing Airflow
- Convection Oven: If you have a convection setting, use it! Convection ovens circulate hot air evenly around the food, leading to faster, more uniform cooking and superior crisping. With convection, you often won't need to flip your fries.
- Conventional Oven: Don't fret if you don't have convection. A conventional oven will still yield excellent results; it just might take a few minutes longer, and you'll definitely need to flip the fries halfway through the baking time to ensure even browning.
The Rack Advantage: Elevating Your Fries
A wire rack placed inside a baking sheet is another secret weapon for achieving perfect crispness. This setup allows hot air to circulate completely around each fry, ensuring all sides brown evenly and preventing soggy bottoms. Line your baking sheet with foil or parchment paper for easier cleanup, then place the rack on top and lightly coat it with cooking spray or oil.
No rack? No problem, but be prepared to flip. If you don't have a rack, simply line your baking sheet with parchment paper. Parchment helps prevent sticking and aids in browning, but you will absolutely need to flip the fries at least once, usually halfway through, to ensure even cooking.
From Prep to Plate: Baking, Seasoning, and Serving Your Perfect Fries
With your oven ready and your potatoes prepped, it's time for the final steps to crunchy perfection.
A Light Oil Embrace
Once your fresh-cut fries are thoroughly dry, or if you're using frozen fries, toss them with a light coating of oil. About 1-2 tablespoons per pound of potatoes is usually sufficient. Vegetable oil, olive oil, or avocado oil work well due to their relatively high smoke points. The oil helps conduct heat, promotes browning, and contributes to the crispy exterior.
- For Frozen Fries: Go straight from the freezer to the oil, then to the oven. Do NOT thaw them, as this introduces excess moisture that will make them soggy. They might need a few extra minutes in the oven compared to fresh-cut.
The Sweet Secret (Optional, but Recommended)
One lesser-known tip that can truly elevate your baked French fries is to add a tiny pinch of sugar to your fresh-cut fries along with the oil and salt. As mentioned in our foundational recipes, sugar helps draw out moisture and aids in caramelization, contributing to an even crispier and more flavorful result. A mere half teaspoon for a whole batch is enough.
Spread and Season
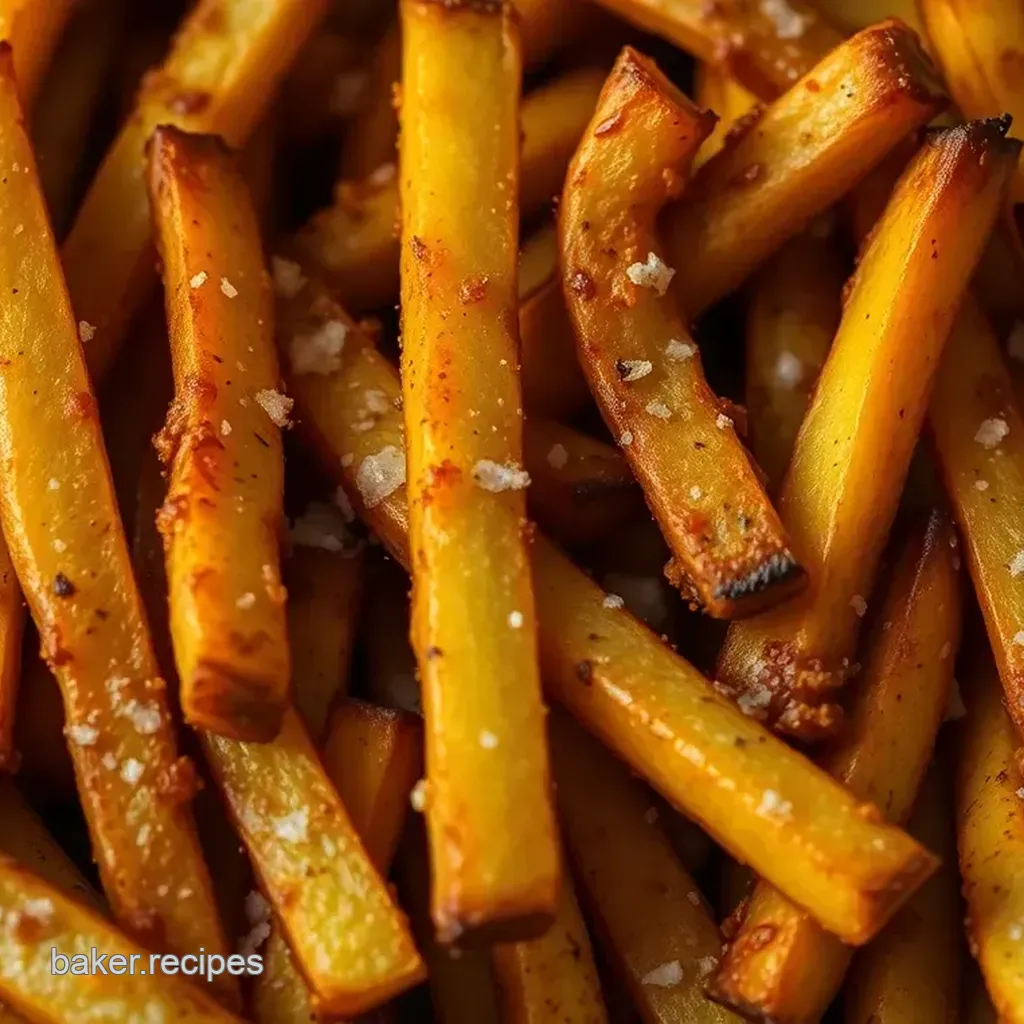
Arrange your oil-coated fries in a single layer on your prepared rack or parchment-lined baking sheet. It's crucial not to overcrowd the pan. Fries need their space; if they're piled up or overlapping too much, they'll steam rather than crisp. Give them a generous sprinkle of coarse salt (like kosher or sea salt) before baking.
Bake to Golden Perfection
Bake at 425°F (220°C) with convection for approximately 25-30 minutes, or slightly longer in a conventional oven (around 30-35 minutes), flipping halfway if not using a rack or convection. Baking time may vary depending on the thickness of your fries and your specific oven. Keep an eye on them towards the end, baking until they are deep golden brown and undeniably crispy. The key is to bake until they are truly golden and crunchy, not just soft and cooked through.
The Final Flourish: Seasoning Again
As soon as your crispy baked French fries come out of the oven, transfer them to a serving bowl and season them again immediately while they're hot. This allows the salt to adhere beautifully. Feel free to experiment with other seasonings: garlic powder, paprika, cayenne pepper, or your favorite spice blend can add an extra layer of flavor. Serve them piping hot with your favorite dipping sauces.
Mastering these techniques will ensure that every batch of homemade baked French fries you make is a resounding success, offering that perfect balance of crispy exterior and fluffy interior without the hassle of deep-frying. Enjoy the crunchy rewards!
